
Create a Map for My Saved Area with Indicators
To create an indicator map for your area:
- From the BroadStreet homepage go to Make a Map
- Follow the steps to Create a New Area or used a Saved Area
- Once in the Map Room, add data
- Style the map layers
- Save and Share
This will open up a selection screen for you to select whether you'd like to use a previously saved area, create a new one, or skip this step.
The Area Selector will help you create a new area.
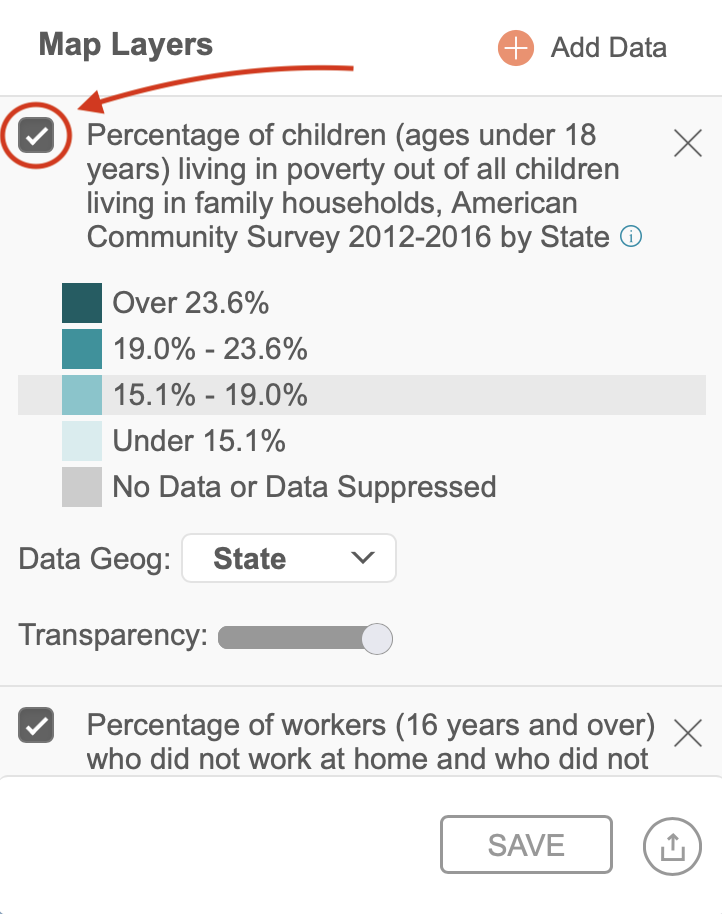
Once you have your map area selected you'll want to add data indicators to it. To do so, click the Add Data button.
Clicking this will pull up a new menu where you'll be able to search for a data indicator to add to your map. Once you find the indicator you'd like to view, click Add to Map.
If you add multiple indicators, be aware that you will have to turn each data layer on and off, click on the checkbox next to the desired indicator you'd like to view. Adjust the transparency of the top layers to see the layers underneath.
View the Entire Region
If you'd like to view the entire map with the data layer you've selected you can turn off the Show My Area Only slider in the top left.
This will then show the data layer for the entire map.
At any point you can also change the area you'd like to view by selecting the Area Tag.
This will bring up a new menu with your saved areas to select.
To save this created map click the Share and choose an option such as copying the link to the map (see picture below).
This article is meant to answer the frequently asked questions of:
- How do I save a map for my area?
- Can I just show my area?
- How do I show just my area in the map room?
- How do I add boundaries for my service area?